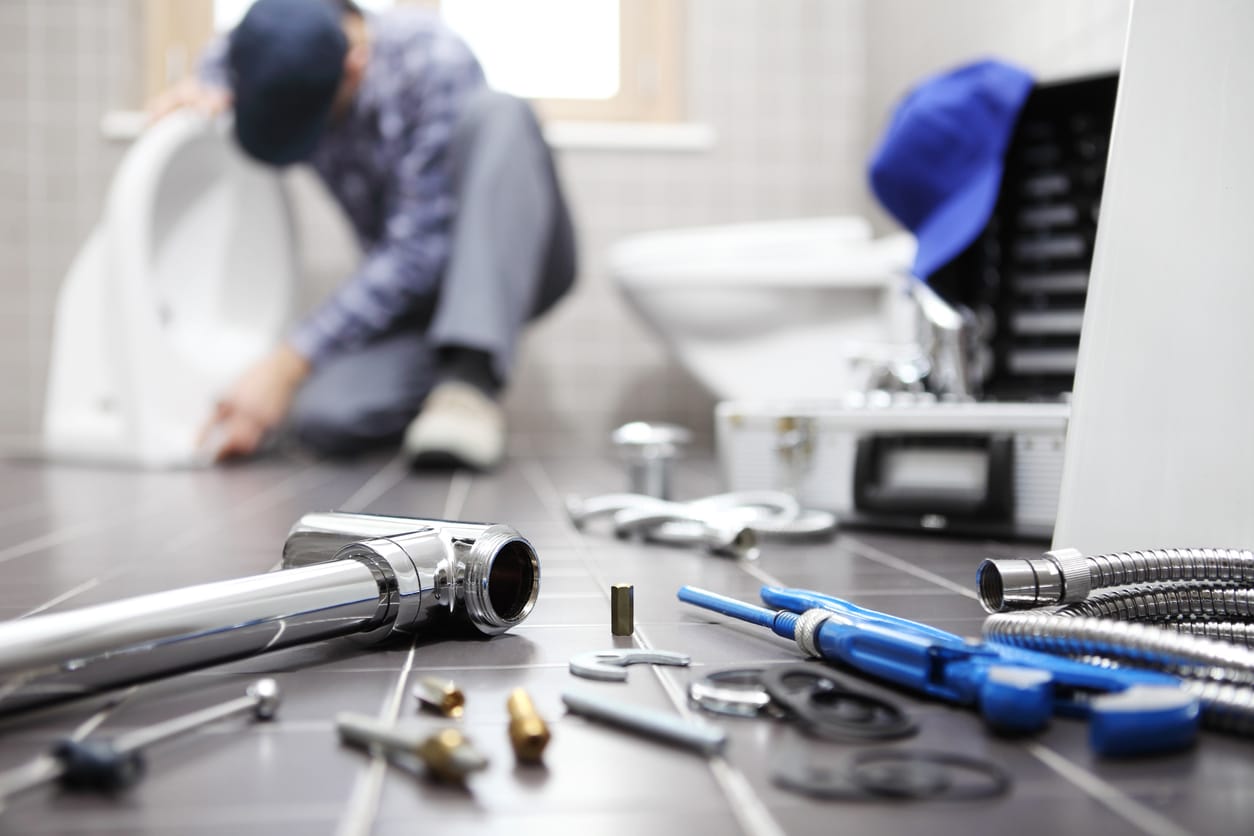
A garbage disposal unit is a popular fixture in many kitchens. When a person turns on the switch, food waste goes down the drain into the plumbing. However, over time, food particles can build up and block it from moving smoothly through your plumbing system or cause leaking issues around your sink’s drain hole. To avoid these issues as much as possible, you should clean your garbage disposal regularly to keep things running smoothly.
If you do not know how to clean or unclog, it is best to contact a leading residential plumbing repair. Garbage disposals come in all shapes and sizes, so always keep in touch with a local plumber for help. Let us discuss how to unclog garbage disposal by following certain simple steps.
Step 1 – Switch off the Power!
Make sure your power is turned off before you begin any plumbing project. If not, turn it off at the breaker box. Never attempt to do any repairs with the power on. Additionally, never stick anything down into an active garbage disposal unit as this can cause serious injury or damage to your appliance. If something has gone wrong below, just shut the power off until things are safe again.
Step 2 – Unplug it!
Before you start unclogging anything, always ensure that your device is unplugged from its electrical source first. This generally means shutting the power off at the breaker box. However, there are times when unplugging your appliance is not enough because it has a direct wire into your electrical system. If this is the case, simply turn off the circuit breaker that feeds power to your garbage disposal unit.
Step 3 – Assess the Damage!
With everything turned off and disconnected, you can start assessing how to begin cleaning or repairing your clog issue. Start by checking for any visible physical damage like cracks in the housing. Look for cracks around where it attaches to your sink’s waste pipe as well as where it mounts to the counter-top surface under the cabinet. Inspect all parts carefully to be sure there aren’t any breakages that could cause further issues later. If everything looks good, then check the power cord to ensure that it is plugged into a working outlet.
Step 4 – Check Out the Disposal!
Take a look at the underside of your garbage disposal unit where the electrical cord attaches. Make sure there are no missing parts or pieces that have come off. Then, inspect where it mounts to your sink’s drain pipe or flange. Look for any cracks in the mounting ring which would indicate it has become loose and needs to be tightened down again. Also, check along this part for any debris which might have become lodged within its mechanism over time.
Step 5 – Be Prepared For Cleaning!
If all things look tip-top shape on your device, then you can next look at how to clean it properly.
Step 6 – Plunge Your Garbage Disposal!
Once you have gathered all these materials together, begin plunging your device. Start by making sure all power and water have been turned off to the unit before doing anything else. Then, take your plunger and place it firmly over your sink drain hole to create a tight seal. Begin rapidly plunging up and down repeatedly until you feel that no other clogs are inside. If you see any food particles come out during this process, immediately stop to clean them up with a cloth or paper towel before proceeding again. Continue plunging until there is nothing left within your garbage disposal unit!
Step 7 – Pour Baking Soda & Vinegar Solution
Now that everything above has been done, you can now focus on what’s left inside of your garbage disposal unit itself. Turn the device back on and allow the water to flow through it for several seconds while still being turned off. Continue before you pour ½ cup of baking soda into your unit. Then, add vinegar (1/2 cup) into this same opening as well to create a chemical reaction that will cause bubbling within its mechanism. Allow this mixture to sit in there for about 3-4 minutes before turning the power off again.
Step 8 – Cleaning With Salt & Ice
If you have ice cubes handy, place some inside your garbage disposal before turning it back on. Begin running these through its system by using the “On” switch or cord to help eliminate any built-up residue that is stuck within the clogs of the device’s body itself before turning it off again.
Step 9 – Flush with Water
Once everything has been turned off, replace the faucet’s drain plug in place before running warm water through your device for about 15 minutes before finally turning it on once more. This should flush out any residue remaining within its system while helping to eliminate odors as well!
Step 10 – Dispose of Trap-EZE
If you have any remaining residue or sludge inside, then dispose of it using enough ice to fill your disposal unit bowl almost halfway before turning it back on. This will help shatter the remnants so they can easily pass through your device’s drain line once more!
Step 11 – Do a Trial Run!
Now that everything has been turned off and cleaned, reassemble all parts within their housing units once again. Turn the switch back on before running cold water into your sink for about 30 seconds to test its functionality. Then, begin throwing some small food waste pieces down into it (while still being switched off) to ensure that there are no other issues left within its system.
If you are still finding issues with your device after completing all these steps, then you may have to contact a contractor who is experienced in repairing garbage disposals for help.


